 |
| Wee Belle |
I've been making up so many wee dog commissions of late, I thought it might be interesting if I showed you some of the steps I take to create one of them. Each wee dog is very different, but some of the techniques used here I use for other breeds. I made Wee Belle back in May, so my techniques have evolved a bit since then - for example, I now create more defined legs, rather than just the impression of legs. I'll do another tutorial about a more recent wee dog soon (must remember to take photos!)
 |
| The real Belle |
Wee Belle is a lovely wee Scottie dog I was asked to make by Eberth of
Olinda Jewellery for his son, Tiago. Belle doesn't live with Tiago, but is an adopted dog, and so Eberth wanted a wee reminder of her for Tiago.
 |
| Stage 1 - the raw materials |
So, let's start at the very beginning - which is a very good place to start :) Here are the basic materials - some Fimo white (classic), a smidge of beige Super Sculpey, a roller, a tissue blade, scalpel and clay shaper.
 |
| Stage 2 - creating the basic shape |
Once I've conditioned the clay, I then created the basic dog shape, moulding by hand and getting a feel for the right proportions. Because polymer clay is quite stiff to work with, it was important to keep a light touch as far as possible so that the rounded shape of the head didn't get squashed.
 |
| Stage 3 - building up the face |
I added the eyes next, and then built up the face using logs of white clay. I have also created the mouth by cutting out a shallow triangle with the scalpel, and lining the cavity with black clay before replacing the triangle. And of course she needs a shiny black nose, and those cute wee ears with pink bits inside!
 |
| Stage 4 - 'fluffing' the face |
Once all the strands were in place, I used a scalpel to lightly 'fluff' up the strands to make them look more like fur. This was quite time-consuming - it's important to make sure all the strands are blended out, so the scalpel strokes have to be pretty close together, and I usually go over the strokes again to make sure they are well blended.
 |
| Stage 5 - 'fluffing' the body |
Once the face was done, I then went over the rest of the body to create a fur effect. This took quite a lot time. Oh, and I forgot to mention that before I started this process, I added a short tail, which I strengthened using a wire armature.
 |
| Stage 5 continued |
For all that Wee Belle was only about 5cm tall, there was quite a lot of clay to 'fluff'...
 |
| Stage 5 continued....again... |
 |
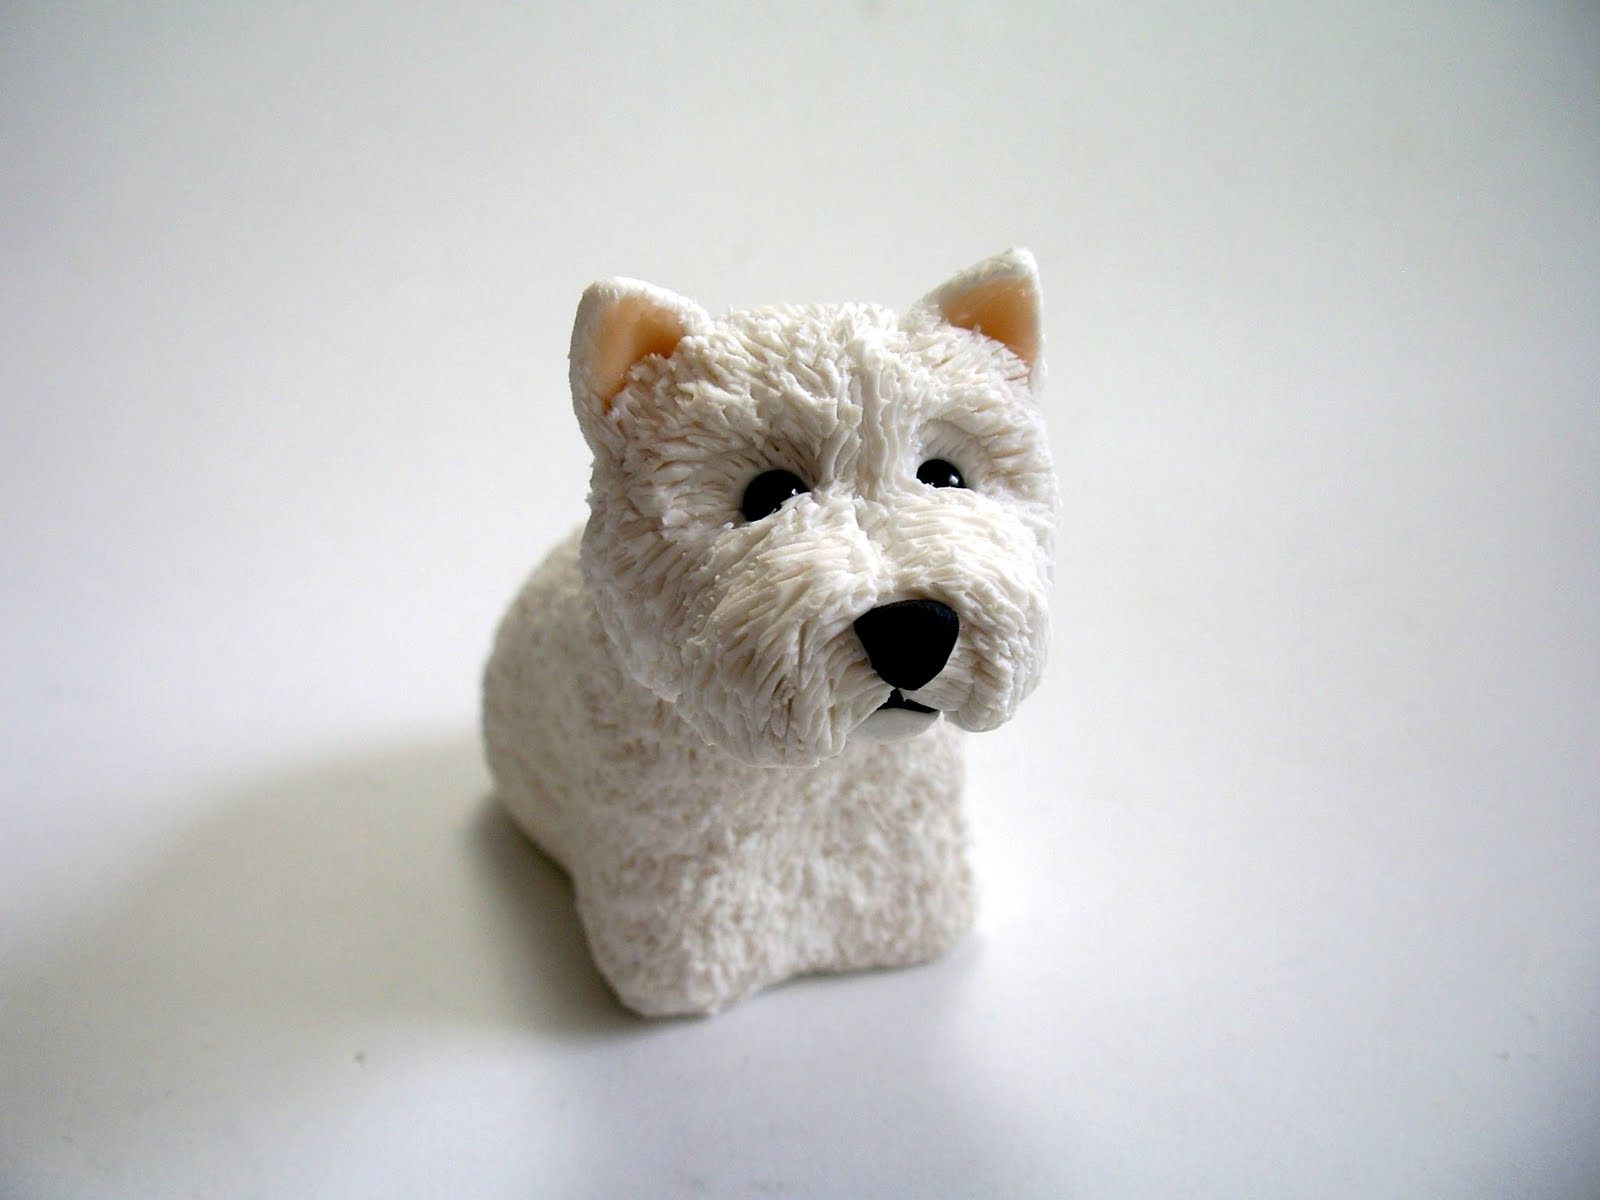
| The finished Wee Belle...at last! |
Once I'd finished Wee Belle, I cured her in my table top oven for 45 minutes at 130 degrees C. I didn't varnish Wee Belle, apart from her shiny black nose.
 |
| Et voila! |


That's just amazing ! Thank you for sharing your technique for creating your beauties. Wee Belle is a such lovely dog, i am pretty sure Tiago will love her "sosie".
ReplyDeleteIt's so cool to see the process of your creations. I wouldn't have the patience I don't think. But oh you are so good at them!
ReplyDeleteHe´s is so cute. And what a joy to read your story on making him. Thank you so much - I really enjoyed your post!!!
ReplyDeleteThanks for your lovely comments! Very patient or just uber perfectionist?! Probably quite a bit of both!!
ReplyDeleteOooooh I see how you do it now! Very interesting. I will have to make more furry creatures just so I can try this out :D
ReplyDelete